A barcode scanner is a great ally to speed up customer service and organize inventory. With it, you avoid typing errors and save time during sales.
To ensure everything functions properly, we recommend Plug and Play scanners with a USB connection. This means you just connect the scanner to the computer and start using it, without needing to install additional software or drivers.
For the scanner to work in Nex, it must be ready for use on the computer itself. There is no configuration required inside Nex.
When purchasing your scanner, it is important to verify if the device reads the following barcode standards that Nex uses and prints on labels:
Important
A scanner with a thinner laser beam provides higher precision when reading smaller labels.
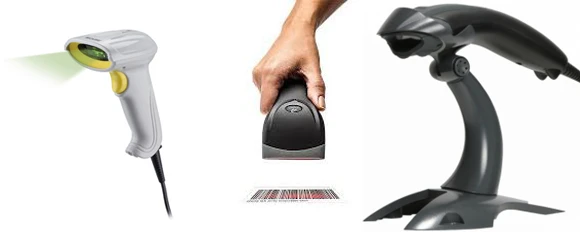
Some scanners require manual configuration to read certain barcode types. This setup is performed directly with the device, usually by scanning configuration barcodes included in the manufacturer's instruction manual.
Product searches in Nex primarily use the information from the Code field located inside the product registration form. The barcode must be registered in this field. You can use the barcode scanner to enter this information directly into the field. Click here to see how to set up product registration.

For quick daily searches in your store, the primary information must be in the Code field. To look up a product during a sale, simply scan the barcode on the item, and the system will automatically locate the merchandise.
If you create internal codes for your merchandise, Nex allows you to generate labels for these products very simply. To ensure high print quality and fast scanning in your routine, we recommend always using numerical codes with 4, 6, or 8 digits. Check here the step-by-step on how to print your labels here.


