In this tutorial you will learn how to place a photograph in your customer's record.
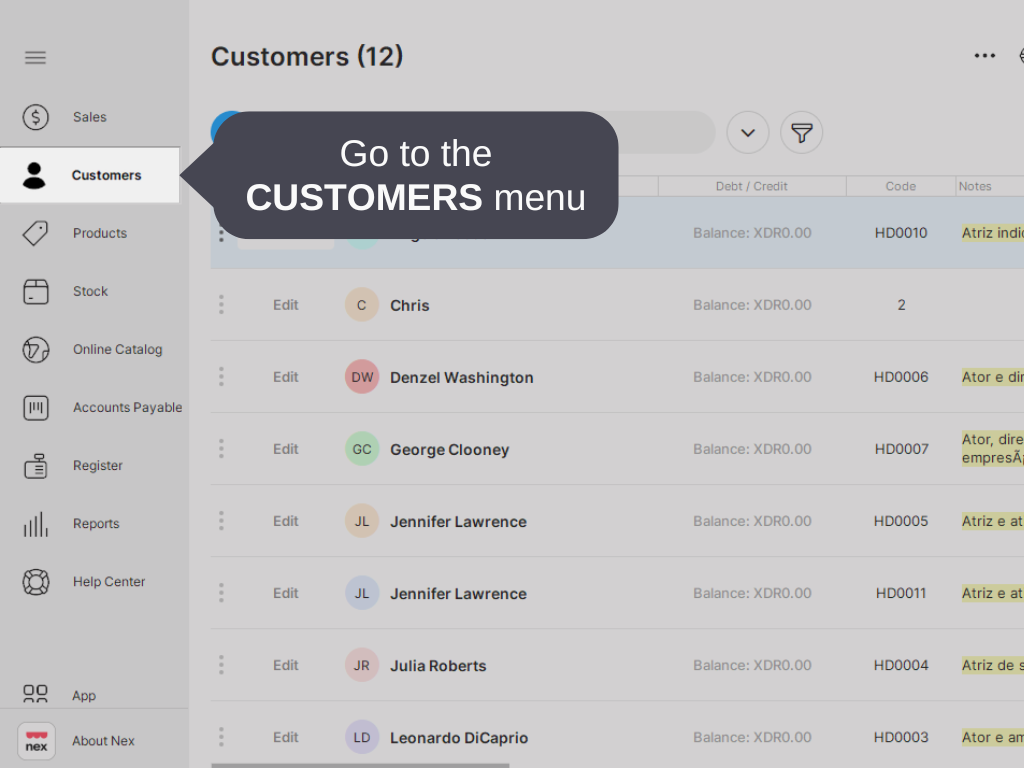
1. Go to the CUSTOMERS menu.
2. Select the CUSTOMER you want to add a photo to.
.png)
3. Click on EDIT or click on the PLUS icon to register a new customer.
.png)
4. Click on the IMAGE icon to SEND IMAGE.

5. If you have a webcam on your computer, click on STOP to take the picture.

6. Click on SAVE to keep the photo.
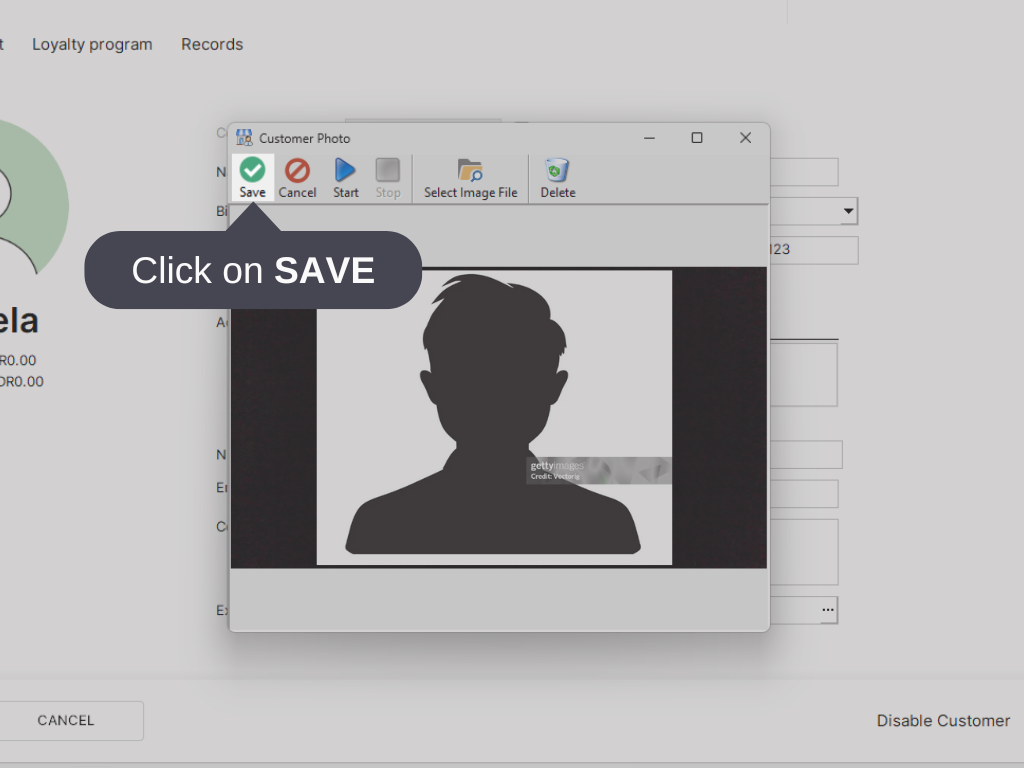
7. If you don't have a camera on your computer, click on SELECT IMAGE FILE to locate a file in your library.
.png)
8. Select the PHOTO and click on OPEN to add the photo to the customer's registration.

9. Click on SAVE - F2.

Done! You've placed a photo on a customer's register.


